
Spa day, anyone? Well, that would be nice — but with most of the country still staying home, it’s unlikely we’ll have licensed estheticians performing extractions and rubbing serums into our skin anytime soon. But just because we can’t hit the spa doesn’t mean we shouldn’t take care of our faces; in fact, getting regular facials is key to detoxifying the skin, which can help prevent aging, treat acne and scarring, and eliminate dark undereye circles.
Treating yourself to an at-home facial is as easy as it is rewarding. Here are five steps to create the perfect at-home facial experience:
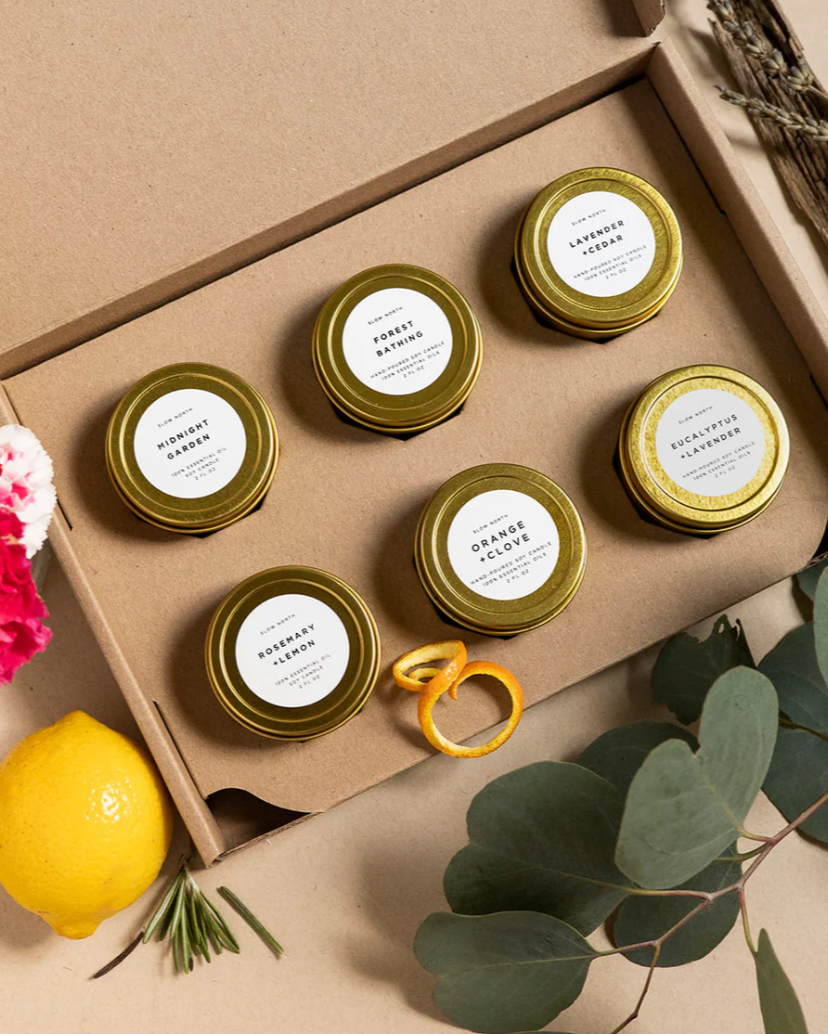
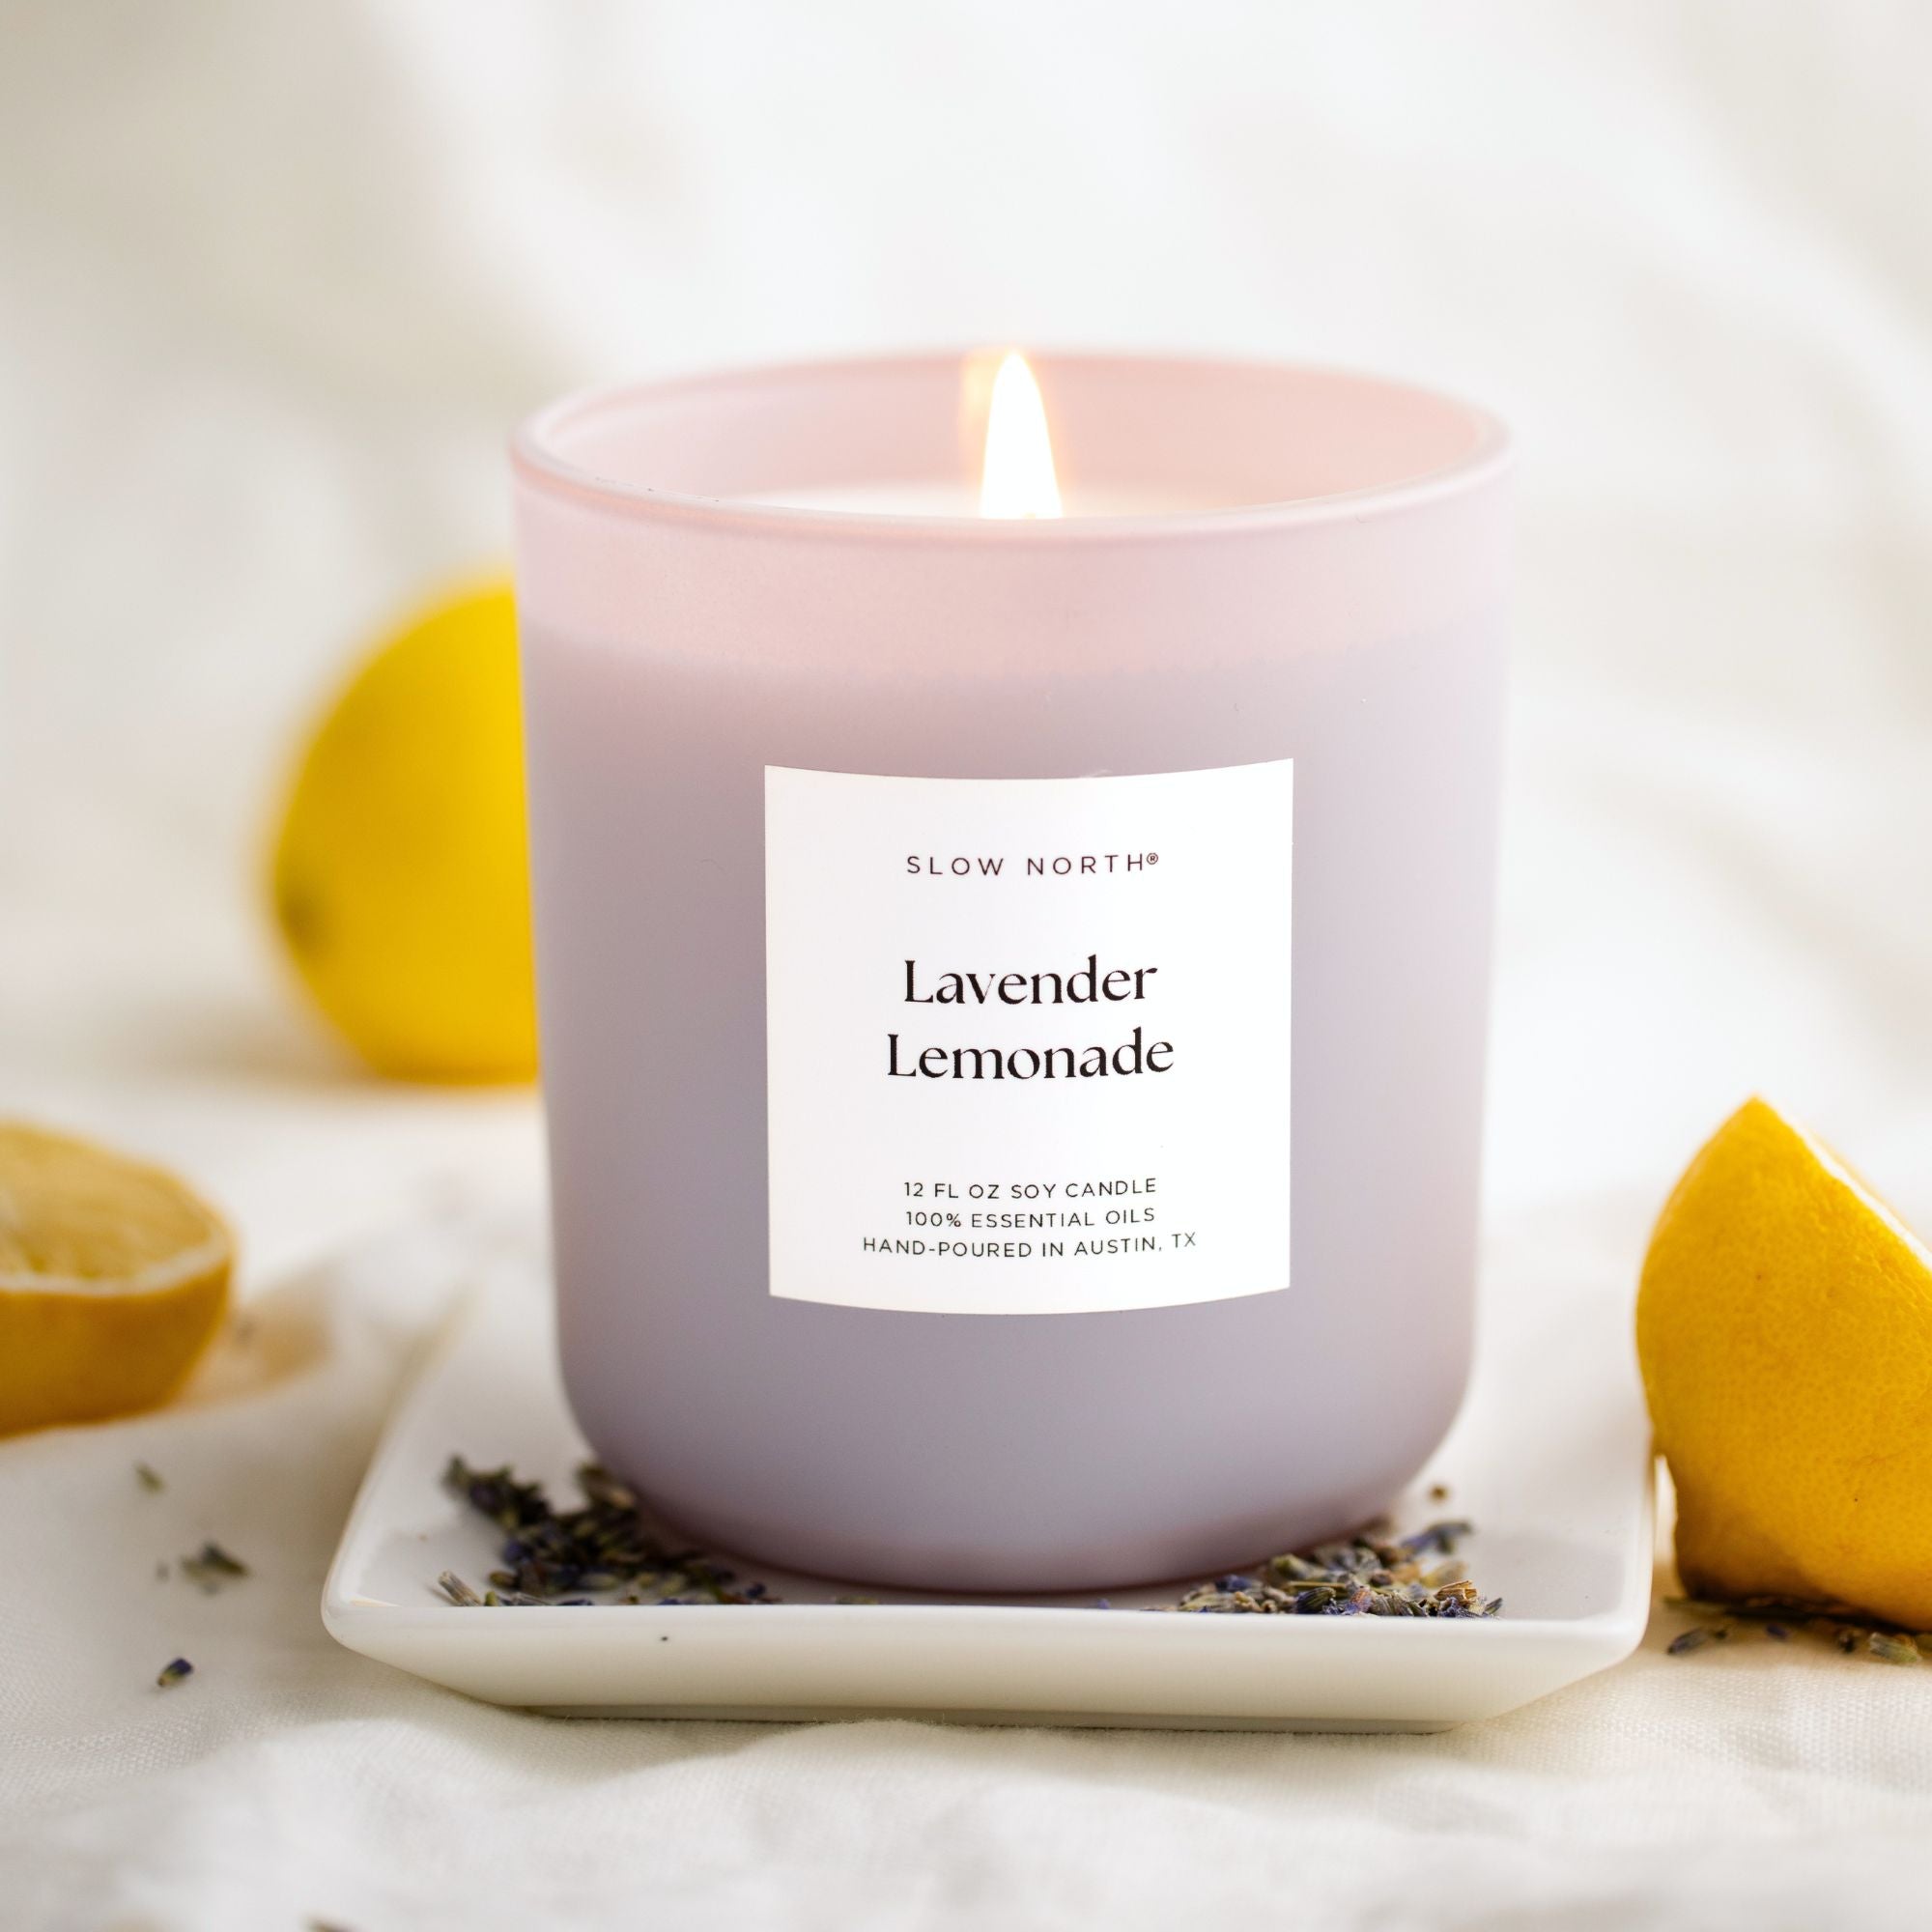
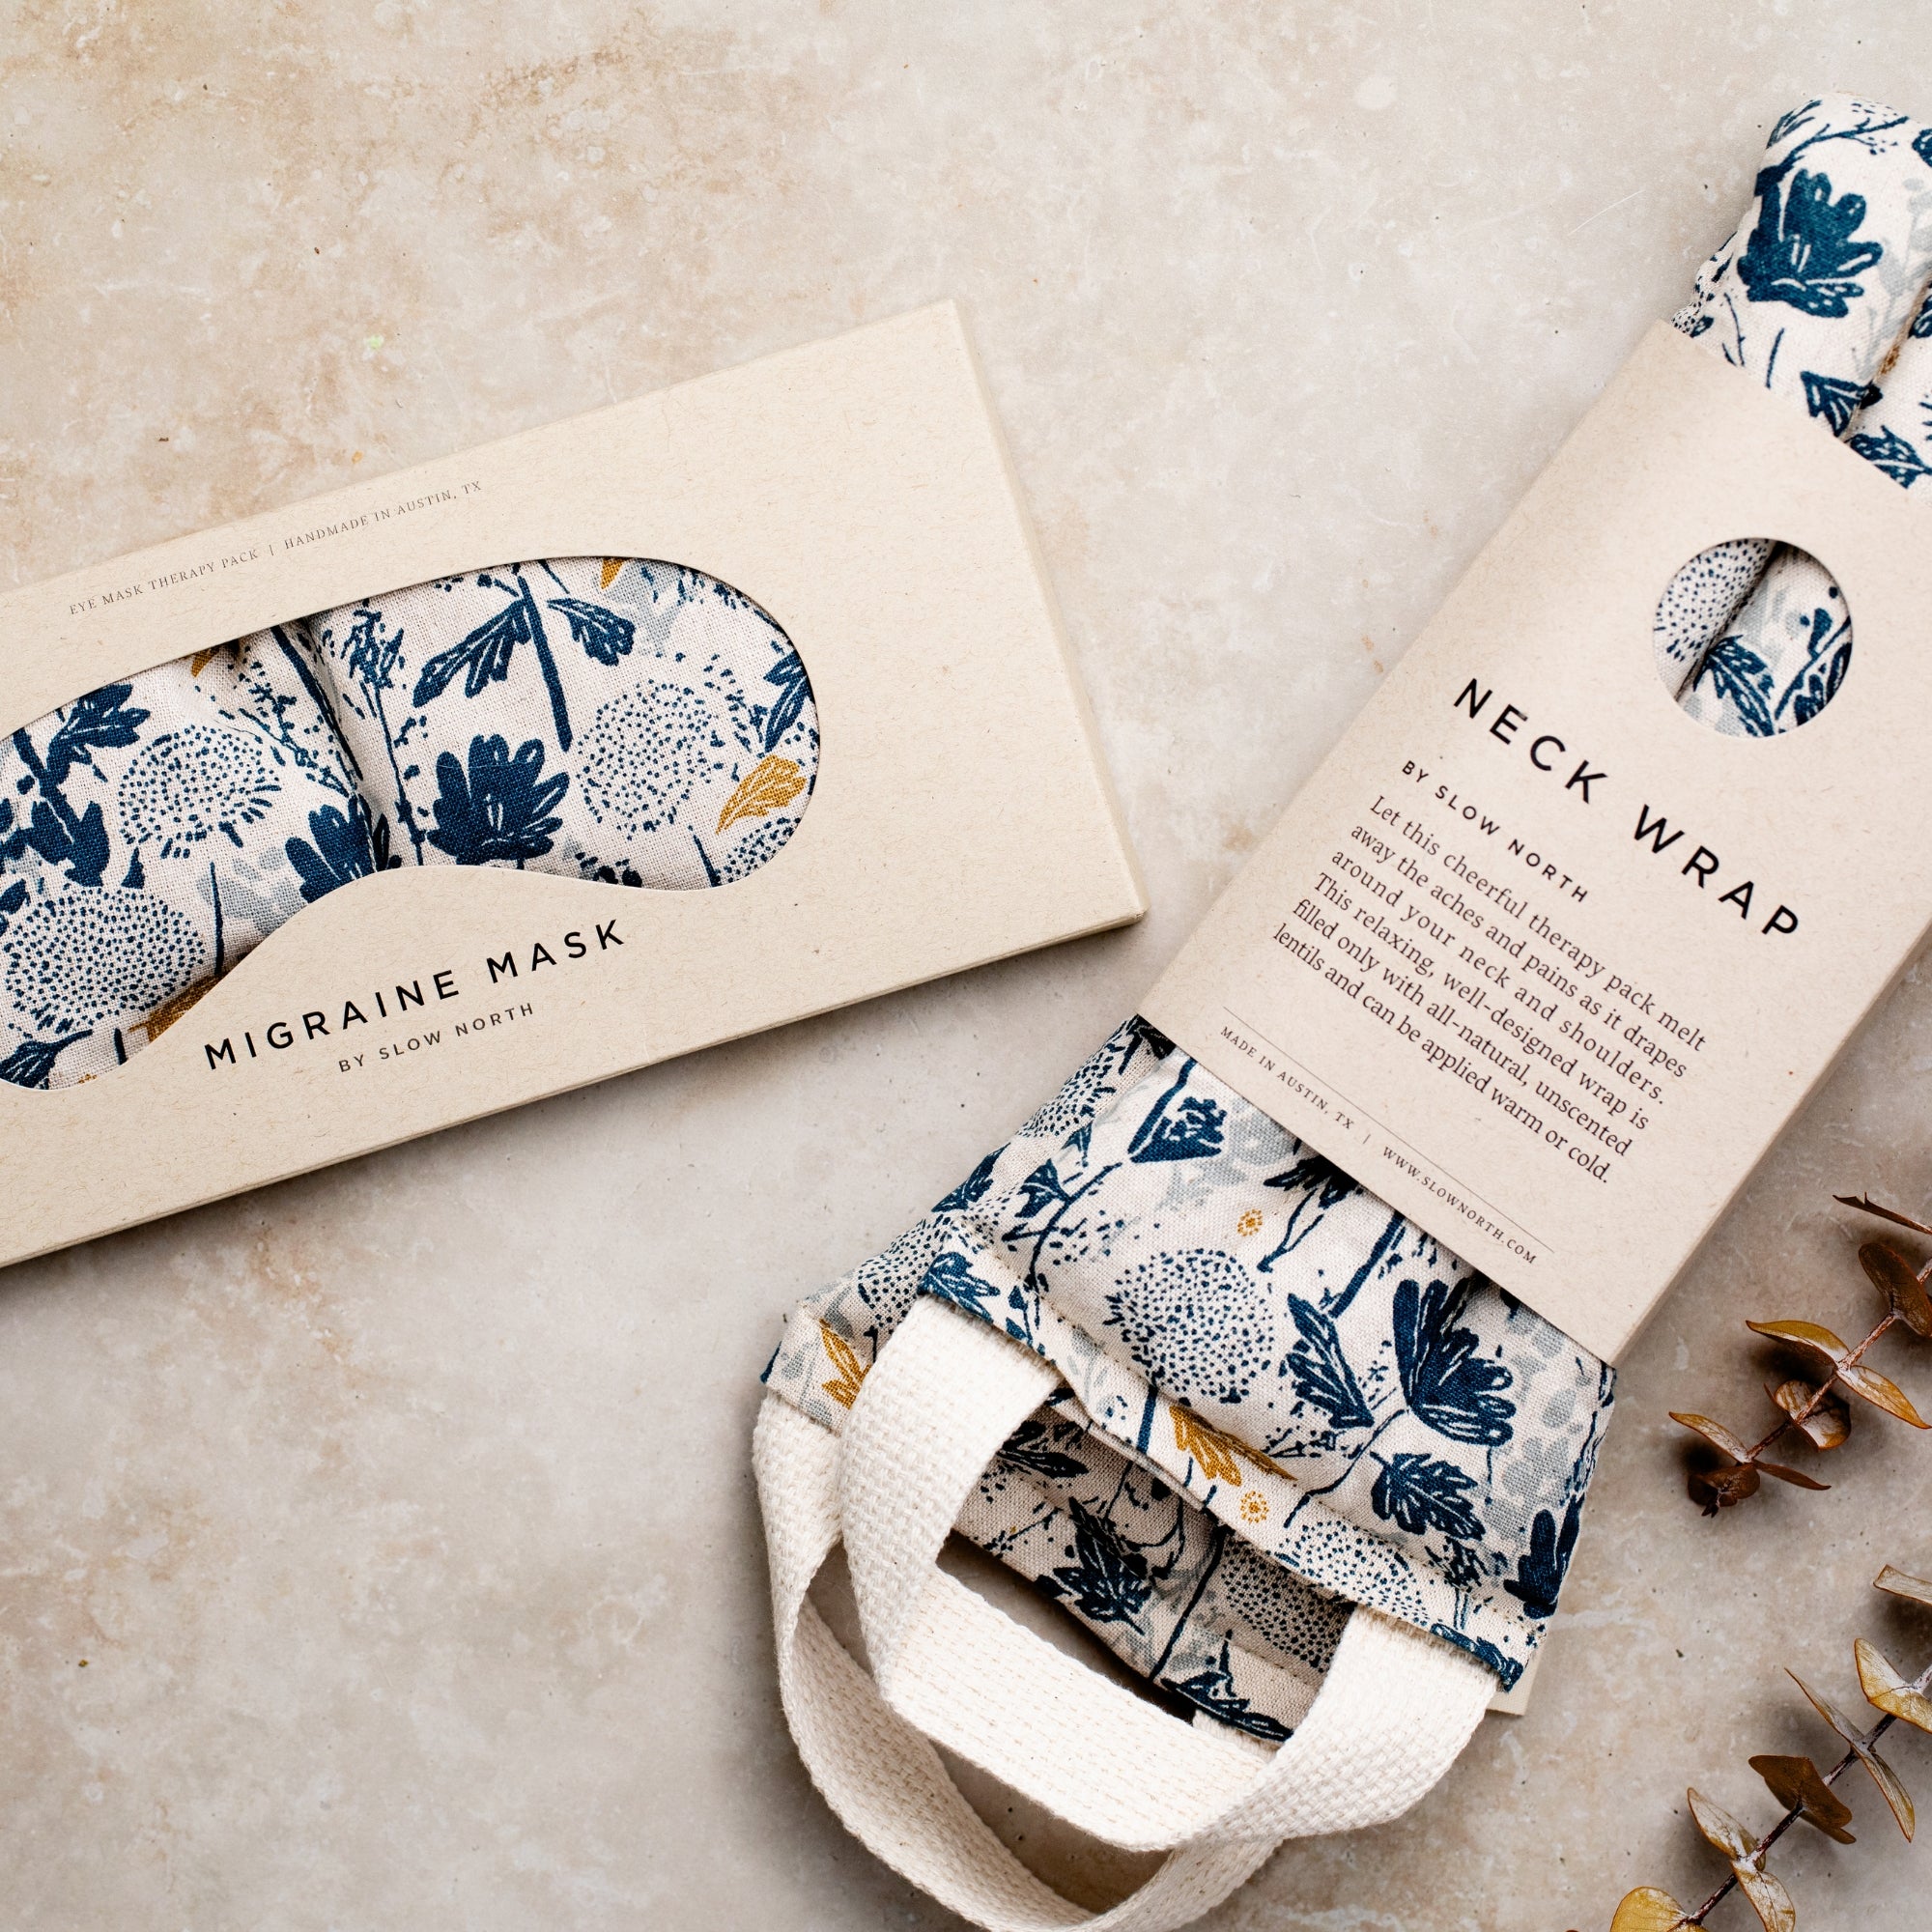
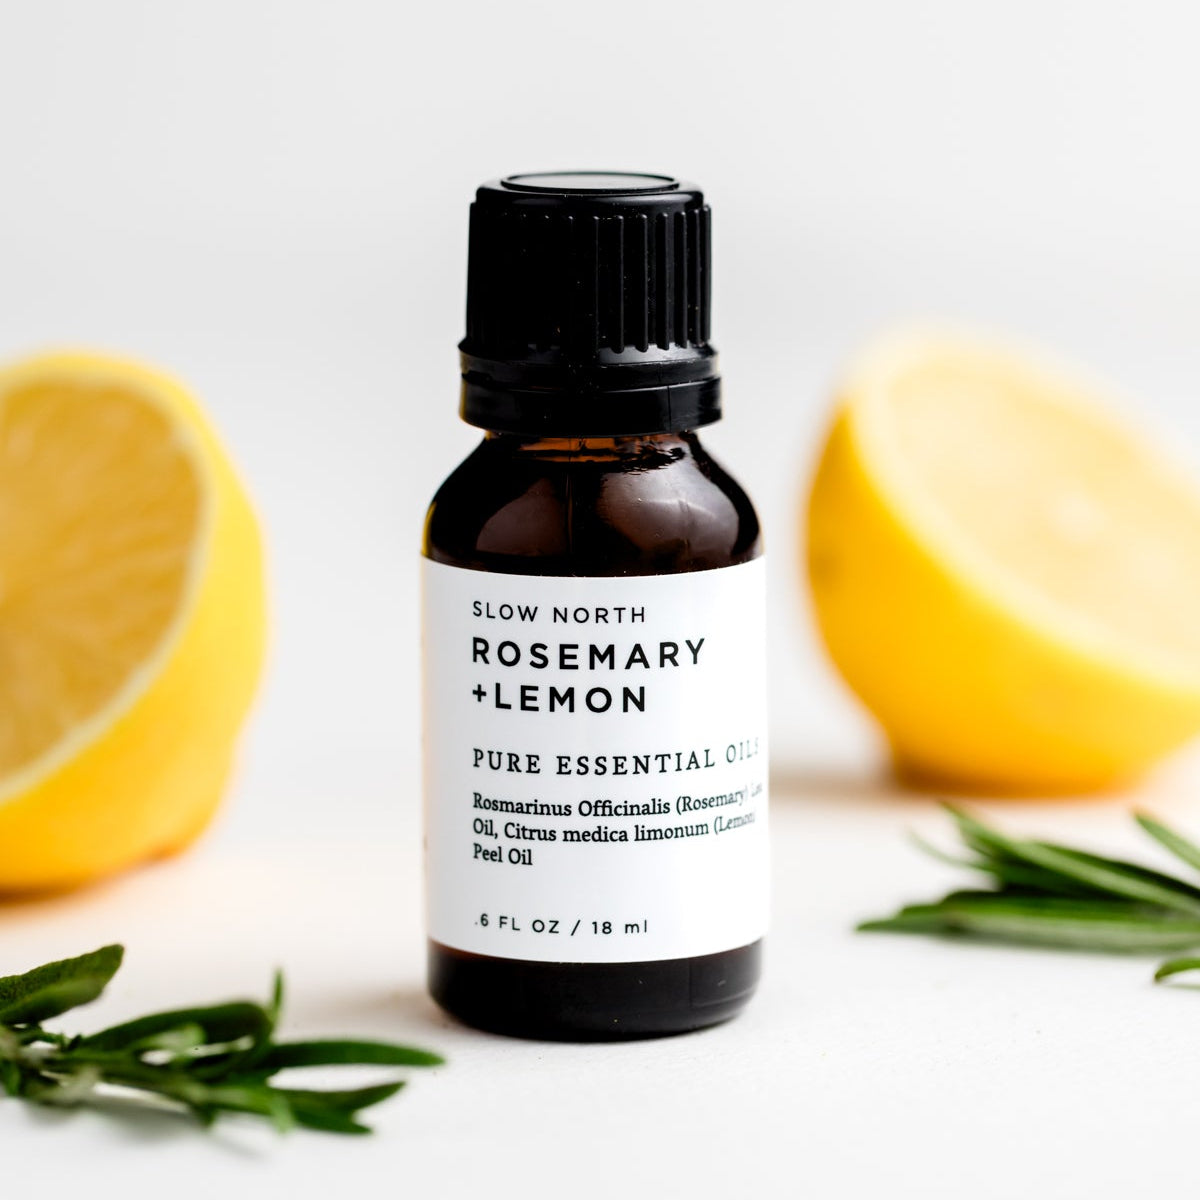
 Photo by The Creative Exchange
1. Start with a double-cleansing routine.
The double cleanse is a powerful method for removing oil-based impurities, like makeup and SPF, from the skin. Begin with a natural oil cleanser, rinse, and follow up with a foam or gel cleanser.
2. Exfoliate.
Exfoliation removes the buildup of dead cells on the surface of your skin. It can help minimize small lines and unclog pores; it also leaves a fresh, polished surface for better absorption of skincare products. We love Skinfood’s Black Sugar Scrub, but if your skin is sensitive and prone to irritation, we’d recommend using a chemical exfoliator, like Glossier’s Solution.
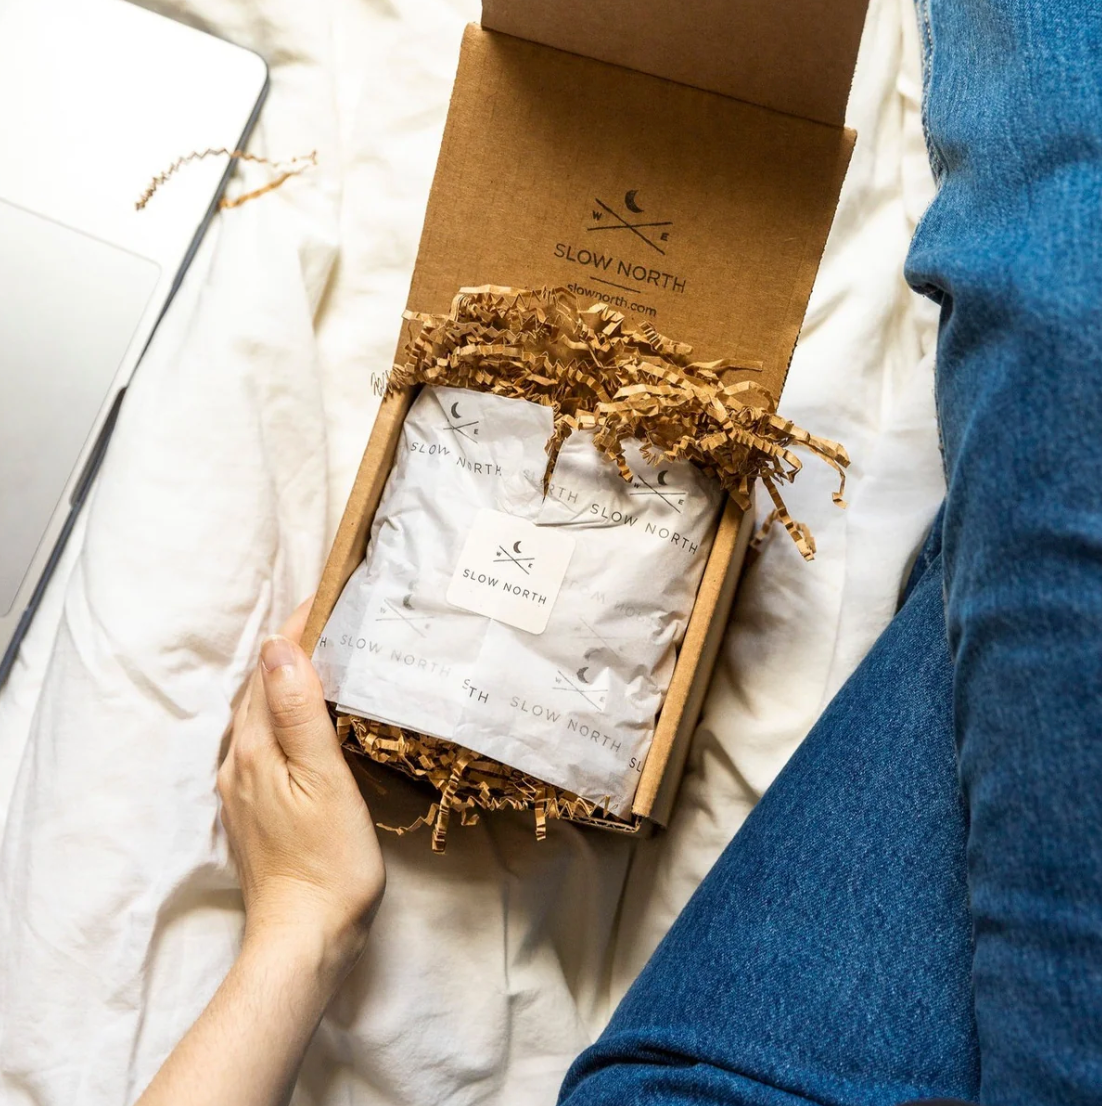
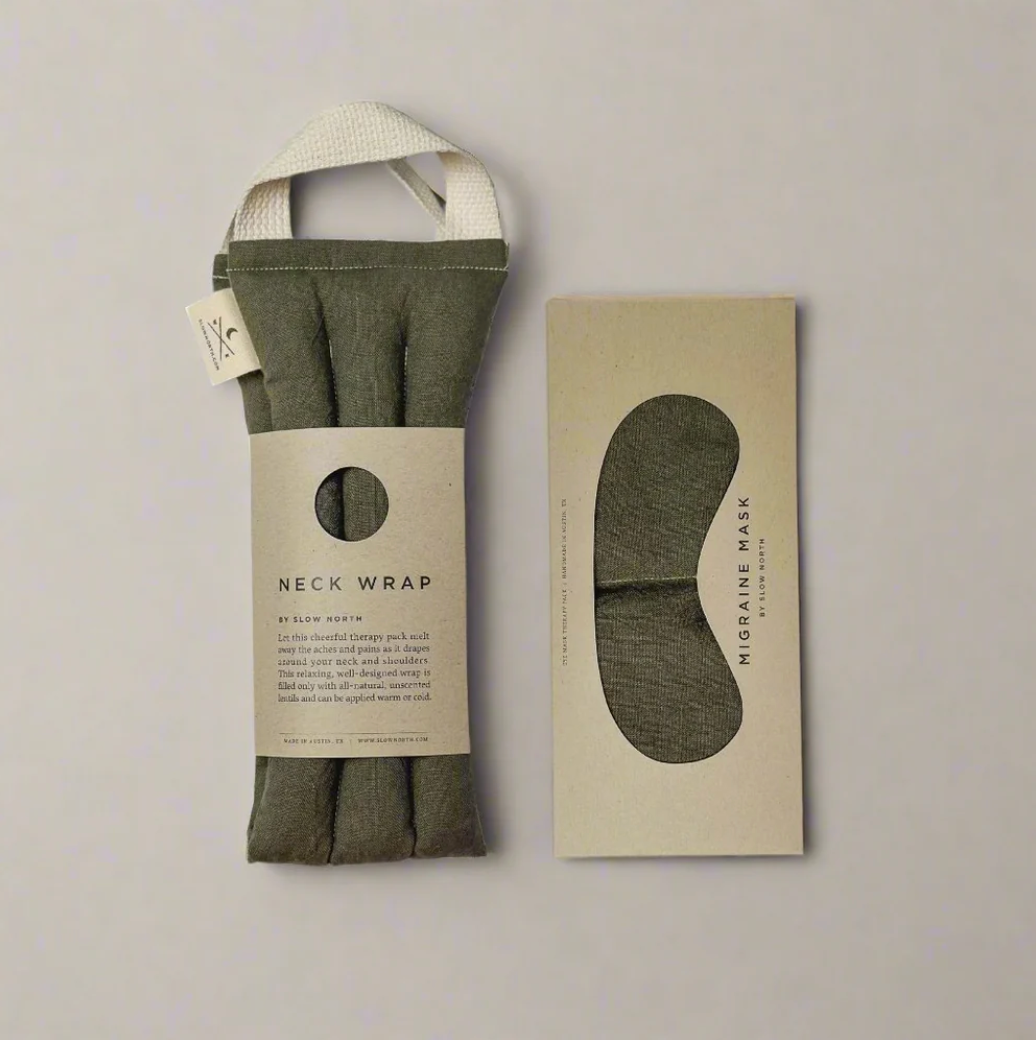
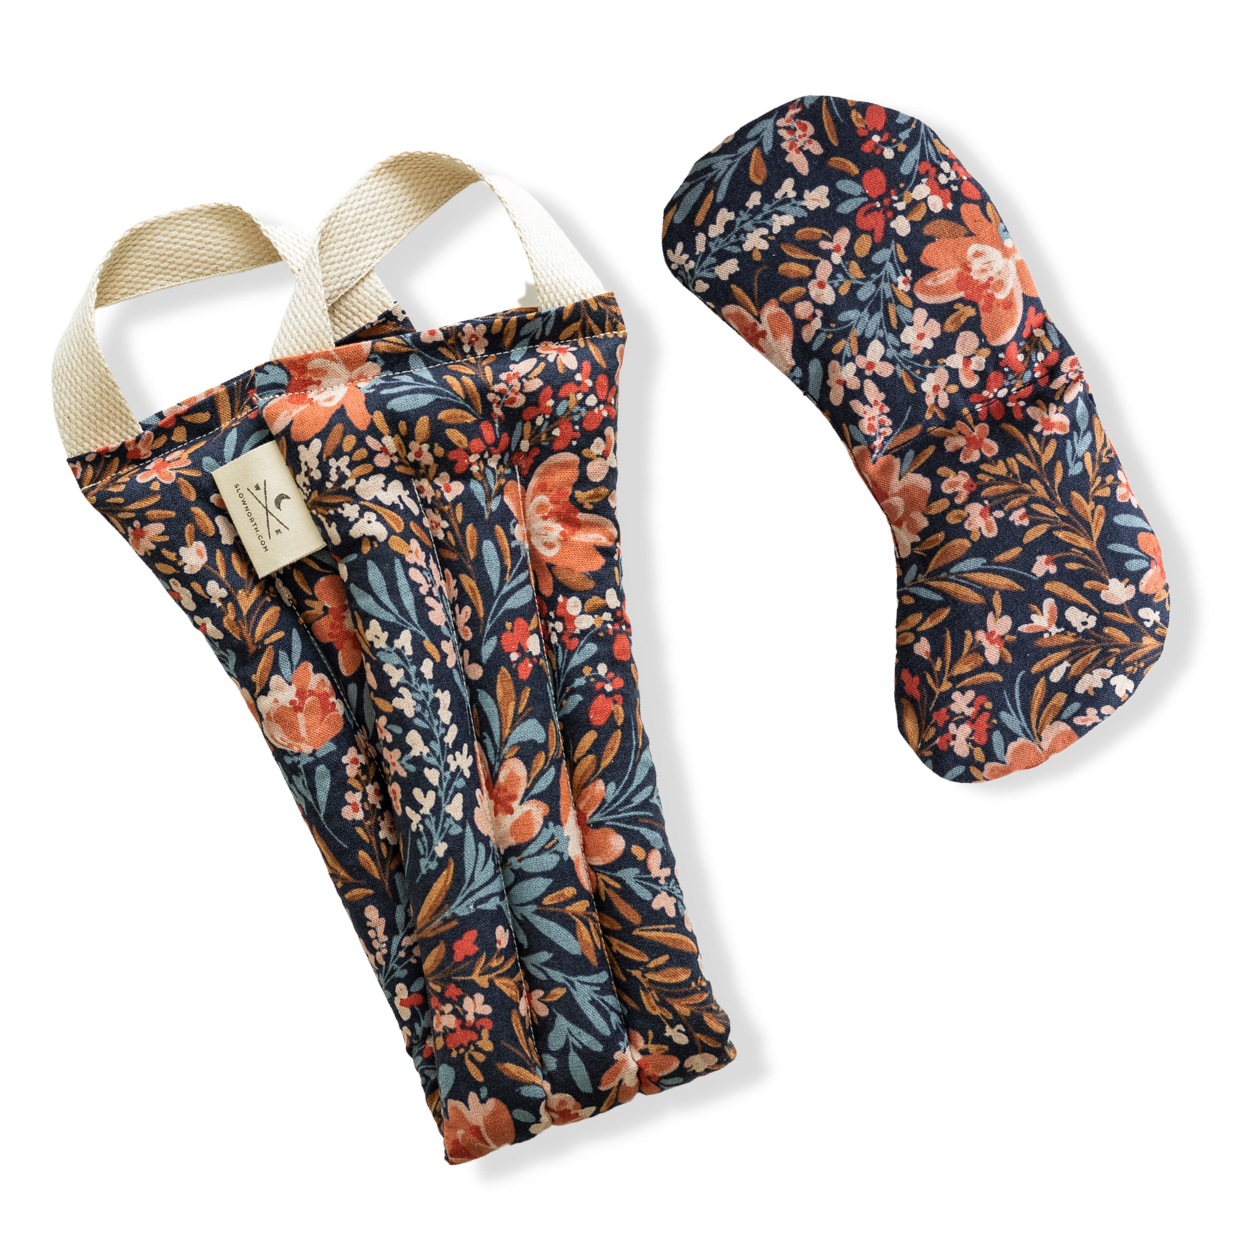
 Photo by Anastasiia Ostapovych
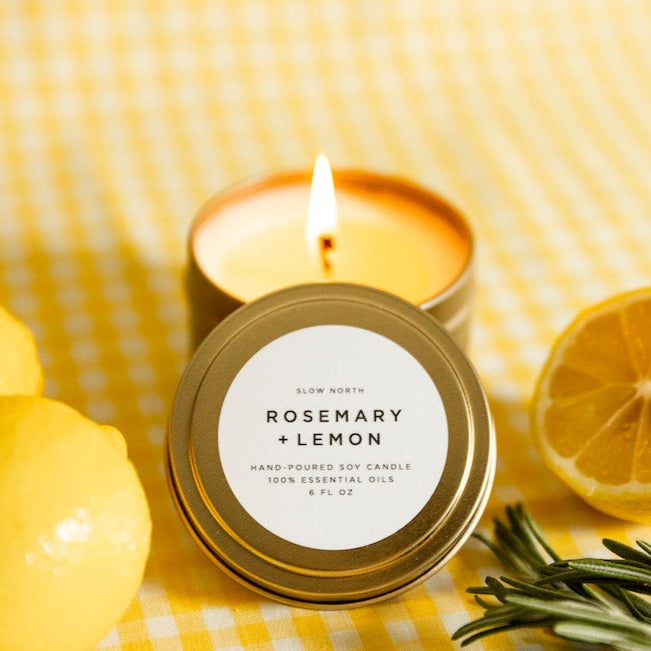
3. Apply your mask.
This is arguably the best part of a facial — relaxing with a mask on. There are masks out there for pretty much any skin concern: sheet masks for hydration, clay masks to detoxify, or skin-clarifying green tea masks. But if you’ve got extra time on your hands, you can make your own! Check out these recipes that use natural ingredients you probably already have in your kitchen:
Brightening Vitamin C Mask: For this recipe, you’ll need one teaspoon of organic honey, fresh-squeezed lemon juice, and 1-2 drops of lavender essential oil (if you don’t have lavender, other soothing oils, like frankincense, will work too). You can leave this mask on for up to 45 minutes.
Acne Fighting Mask: Simply blend a drop of tea tree oil with a tablespoon of aloe vera gel. Keep on clean, dry skin for 10 minutes.
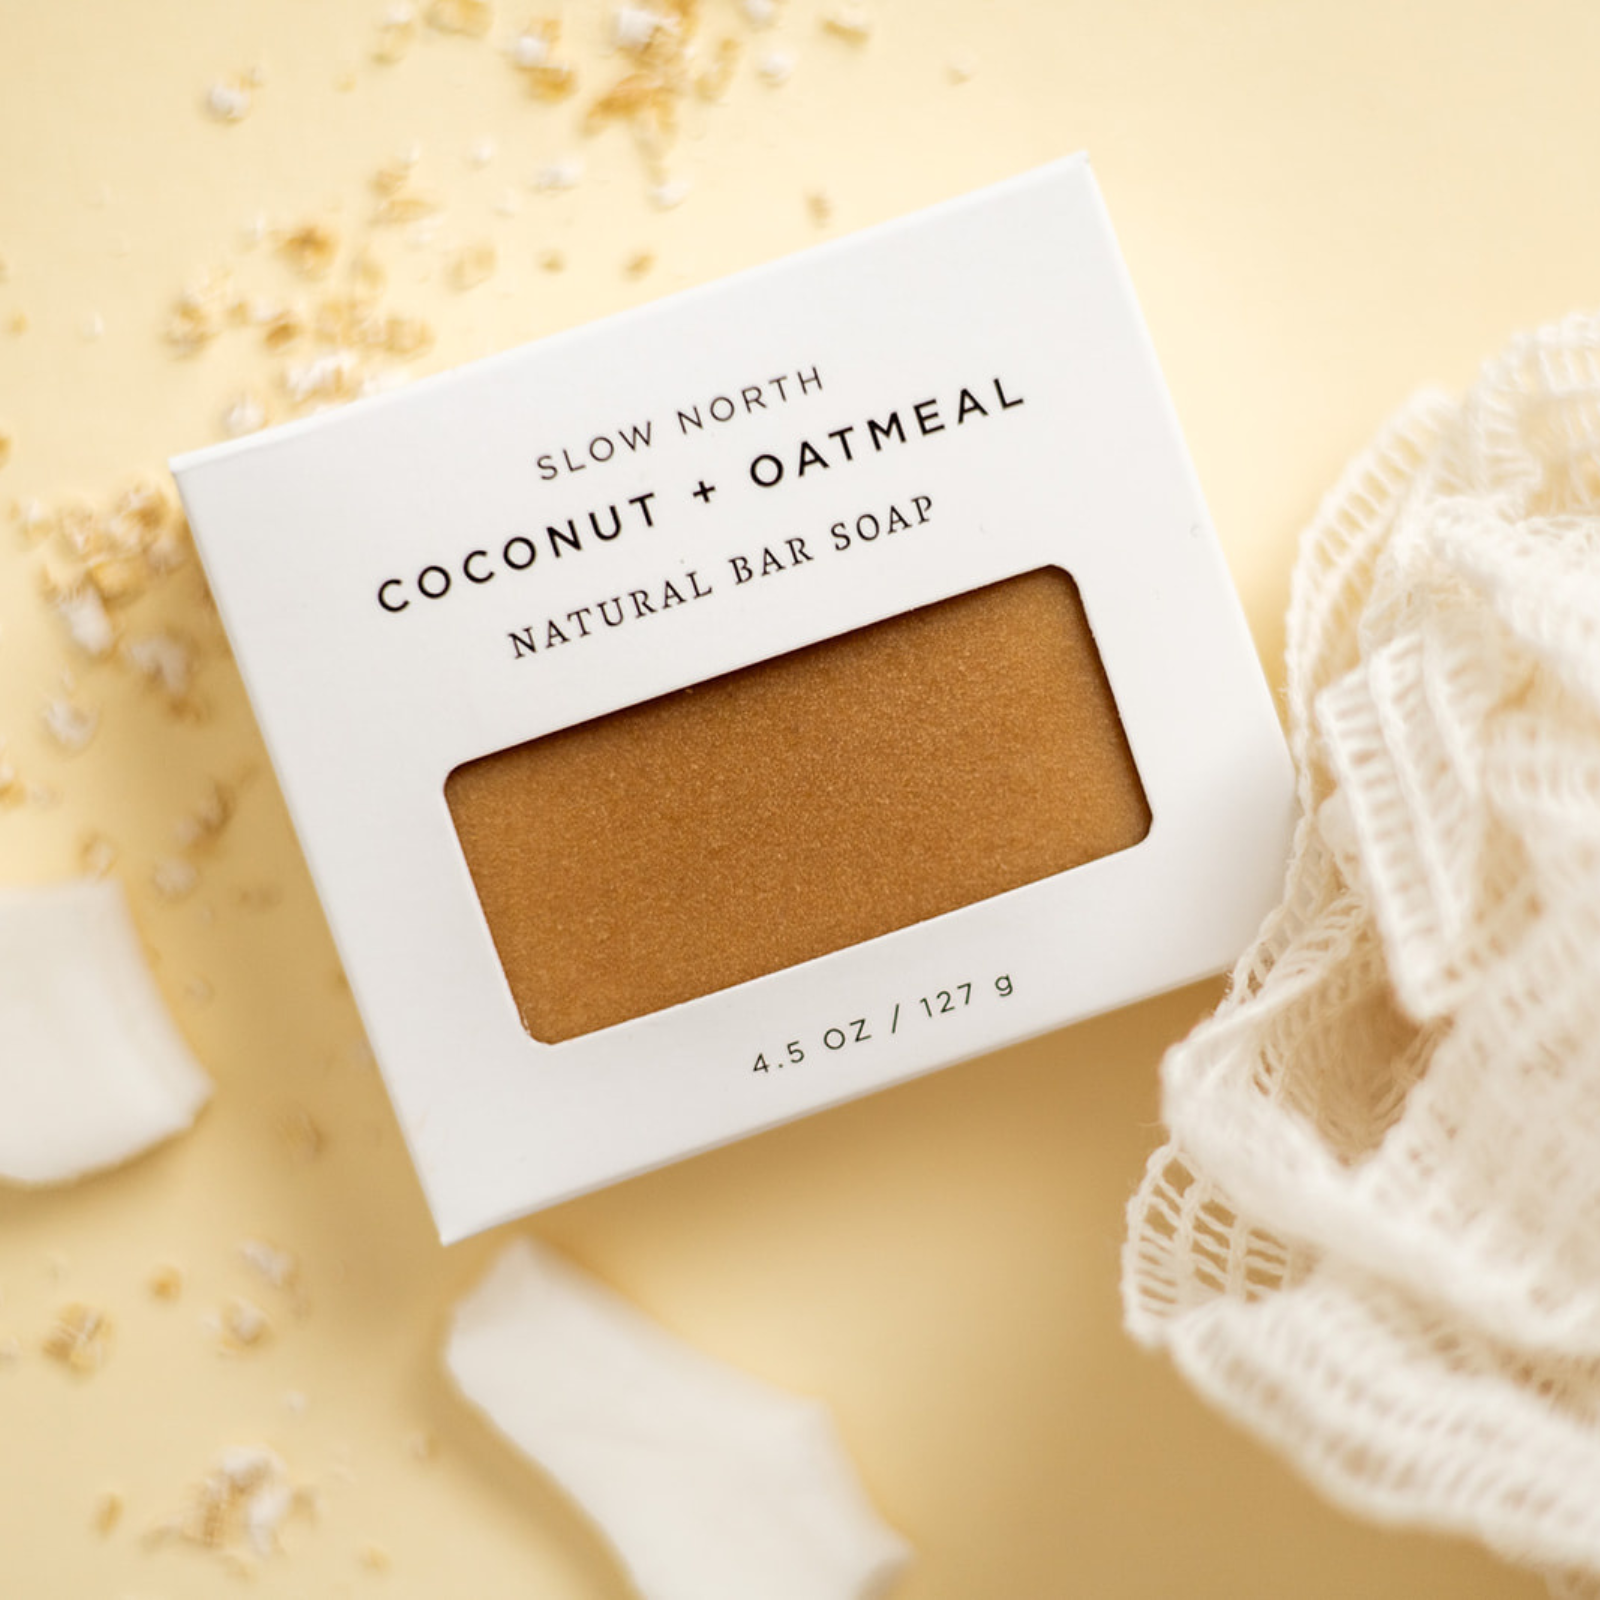
Hydrating Avocado Mask: You’ll need half an avocado, one tablespoon of honey, and a handful of oats. Mash them all together and spread across the face. Leave for 15 minutes before rinsing.
4. Moisturize.
After rinsing off your face mask, put on a layer of moisturizer. This is the final product you should apply. It’ll help lock in all the goodness you’ve just endowed upon your skin!

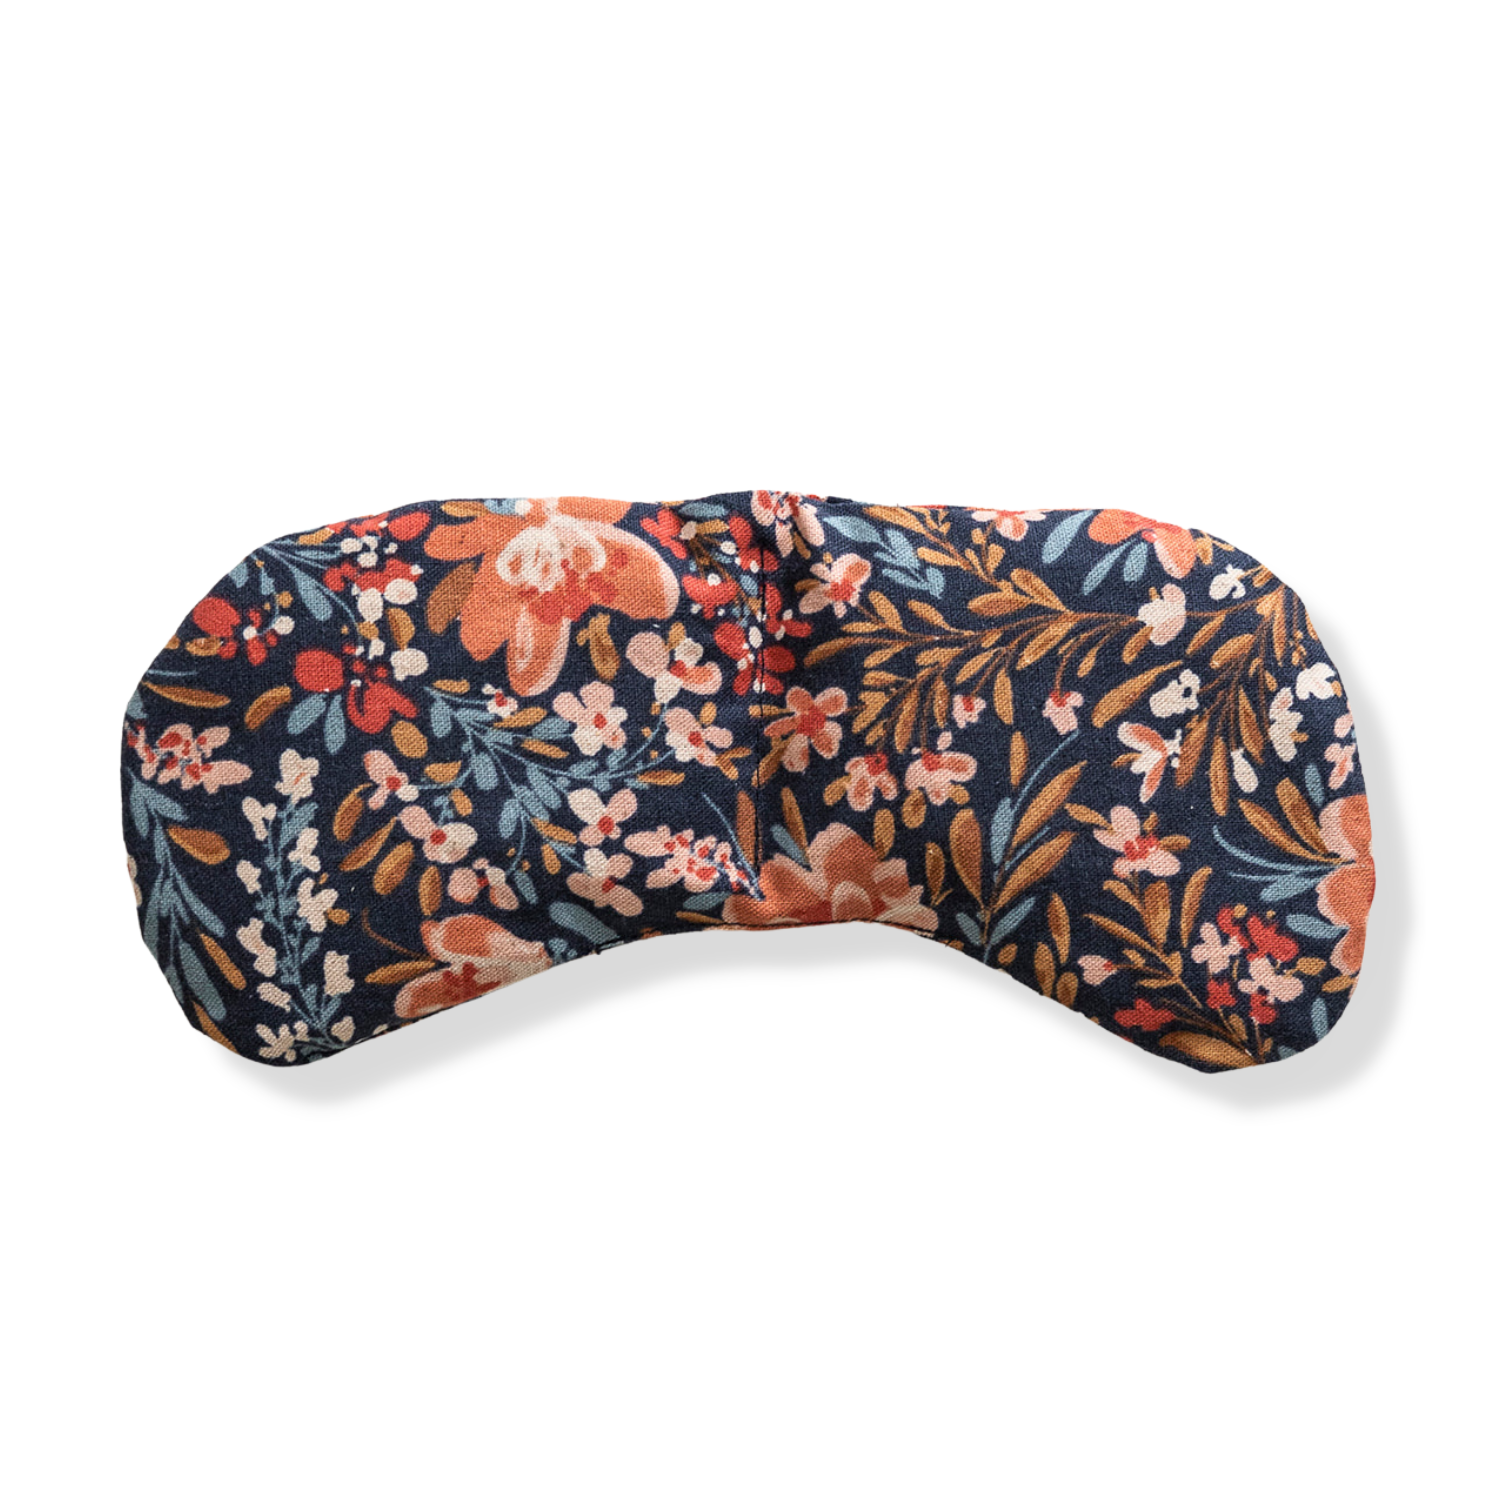
5. Roll it out.
The final step is using a facial roller to encourage lymphatic drainage — aka removing toxins from the face. Facial rolling can also help improve skin firmness, blood circulation, and reduce fine lines. Using light pressure, start rolling on the décolleté and neck, as this creates flow for effective drainage. Next, roll across the jawline towards your ear. Continue rolling on the same side of the face, starting each time from the center. Use the small stone to roll outward around your eyes and down the sides of your nose. Roll outward from your nose, lips, and chin. Need a little more coaching on the art of facial rolling? Read more here.

Cecilia Seiter
Cecilia is a freelance writer and contributor to Slow North. She writes largely about sustainability, especially as it applies to beauty, wellness, and the future of technology. She is a graduate of the journalism department at Cal Poly, San Luis Obispo and is based in Los Angeles, CA.


